Random Forest
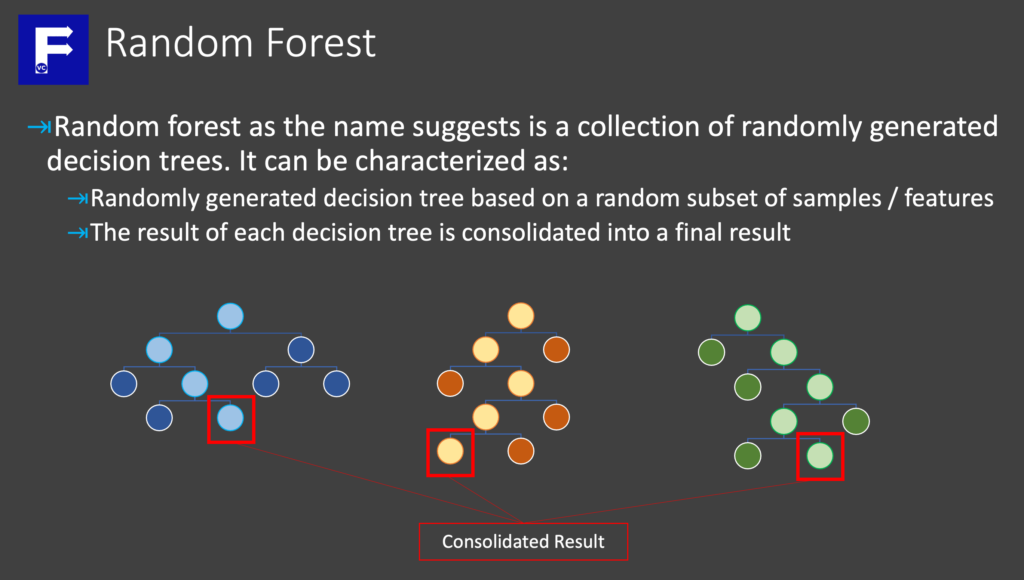
Random forest, as the name suggests is a collection of randomly generated trees. In effect, it takes the consolidated result of several randomly generated decision trees based on a random subset of our dataset. Before further reading, we strongly suggest to check our prior article to understand what is a decision tree. Today we explore briefly how a Random Forest works and why it may be a better option than a decision tree. Finally we show how scikit-learn allows us to do this easily.
Random Forest – University Admissions Dilemma
In order to better illustrate what a Random Forest is, we introduce what we call the University Admissions Dilemma.
For the most part University admission is a life changing event for any prospective student. Meanwhile being able to admit the right applicant by the admissions office is equally as important. Subsequently, imagine you are presented with a large dataset of applicants, each with different features (e.g. individual grades for each course, whether they belonged to a sports team, if they had any siblings/parents who are/were alumni, cultural background, etc.). How would you chose between those to admin and those not to admin?
University Admissions Dilemma – Decision Tree Approach
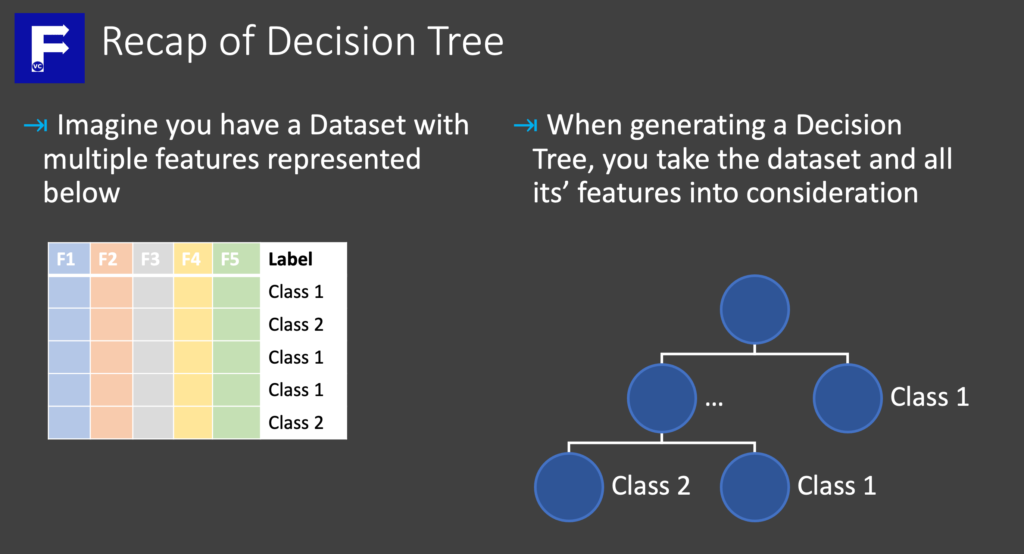
Obviously the first approach would be to build a Decision Tree. Basically taking the all features into consideration, a decision tree could classify all applicants into two classes.

As a result, you have a single universal way to classify all applicants. At this point you may realize that the applicants admitted all have similar features based on how you split the nodes in your tree. Moreover the features chosen will have “bias” and an unproportionally strong influence on your decision.
University Admissions Dilemma – Random Forest Approach
Generally the idea behind Random Forests, is to create many decision trees and consolidate the result into a final classification. In order to create multiple decision trees, we take a subset of our samples and consider only a subset of our features. In other words, we ask ourselves “Would we admit the applicant if we didn’t consider certain features (e.g. Math grades)?”. Since there can be many permutations of features and subset of applicants to consider, we could randomly create many decision trees.

Although the classification of an applicant may differ based on all the different decision trees generated. Generally a mechanism to consolidate the results from each tree is considered to give a final classification.
In conclusion, by using a Random Forest, we can better manage bias when compared to only using a single decision tree. Comparatively, a Random Forest is more complex and additional parameters need to be considered.
Random Forest with scikit-learn
At this point with a fundamental understanding of what a Random Forest is and the general concept behind, let us know see how we can implement Random Forest with scikit-learn. In order to do this we first import the necessary library from scikit-learn and define some parameters
import pandas as pd
from sklearn.ensemble import RandomForestClassifier as rf

num_class = 3
min_samples_split = 2
bootstrap = True #True = Don't use all samples, False = Use all samples
max_samples = 0.8 #A value (0,1) to determine how many samples. None - Use all samples
max_features = "log2" # Number of features to use for each tree based on number of features, None = Use All
n_jobs = -1 #Number of threads to run in parallel. -1 = Use all processors
Important to realize is the parameters we define above may influence the accuracy of the Random Forest model. Therefore it is important to take a closer look. Unquestionably the max_samples parameter defines what percentage of our dataset to use for defining each decision tree. Additionally the max_features parameter tells us what subset of our total features will be used in each tree.
Preparing and Train our model
Subsequently after defining our parameters, we prepare our dataset
carlist = pd.read_csv("CarList.csv")
carlabel = carlist['Label'].copy()
carlist.drop(["Car","Label"],axis=1, inplace=True)
carlist["Open Top"] = carlist['Open Top'].map({"Yes":1,"No":0})
carlist.head()

Straightaway we define and train our random forest model.
# Define our RandomForest model based on our defined parameters
cartree = rf(max_leaf_nodes = num_class,
             min_samples_split = min_samples_split,
             bootstrap = bootstrap,
             max_samples = max_samples,
             max_features = max_features,
             n_jobs = n_jobs,
             random_state = 0
            )

# Train our RandomForest Model
cartree.fit(carlist, carlabel)
RandomForestClassifier(max_features='log2', max_leaf_nodes=3, max_samples=0.8,
                       n_jobs=-1, random_state=0)
Making a prediction
Similar to before, now that we have trained our model, we can test our model by running a prediction.
# Next we need to find new data for prediction/testing
cartest= pd.read_csv("CarTest.csv").drop(["Car","Label"],axis=1)
cartest['Open Top']= cartest['Open Top'].map({"Yes":1,"No":0})
cartest.head()

# Get our predictions from test data the model has never seen before
cartree.predict(cartest)
array(['Convertible', 'Sedan', 'SUV', 'Sedan', 'SUV'], dtype=object)

# Concatenate our predicted results with our original test dataset
cartest_full = pd.concat([pd.read_csv("CarTest.csv"),pd.DataFrame(cartree.predict(cartest))], axis=1)

# Display final results
cartest_full

Although our car dataset is too small to convincingly demonstrate the strength and benefits of Random Forest over Decision Trees, the method to apply the analysis is the same. At any rate, when comparing the predicted results with the actual results, we see we managed to obtain a very high accuracy. Undeniably, we recommend testing the same approach with a larger dataset such as the famous Survival on the Titanic.


