As has been noted in our previous article on drawing basic shapes in images, the ability to make annotations can be useful. For example, we learnt how we could add a date stamp on our image. However, many times there are other changes we need to make. Specifically, we often times need to resize, shift our image, mirror, or even rotate our image. Hence our article today will show you how geometric transformation with OpenCV can be done.
First thing to remember is to import the necessary libraries. In addition, we also define a helper function (optional) that displays the image within Jupyter notebooks.
import cv2
import numpy as np
#The line below is necessary to show Matplotlib's plots inside a Jupyter Notebook
%matplotlib inline

from matplotlib import pyplot as plt

#Use this helper function if you are working in Jupyter Lab
#If not, then directly use cv2.imshow(<window name>, <image>)

def showimage(myimage):  #Used for Jupyter Notebook. Otherwise use cv2.imshow("Window",image)
    if (myimage.ndim>2):  #This only applies to RGB or RGBA images (e.g. not to Black and White images)
        myimage2 = myimage[:,:,::-1] #OpenCV follows BGR order, while matplotlib likely follows RGB order

    fig, ax = plt.subplots(figsize=[10,10])
    ax.imshow(myimage2, cmap = 'gray', interpolation = 'bicubic')
    plt.xticks([]), plt.yticks([])  # to hide tick values on X and Y axis
    plt.show()
Resizing an image
Have you ever recognized the photos taken by most modern day cameras are larger than needed for most consumers? If you wanted to share this photo on social media or your website, then you need to resize the image. While many websites and software have built in functions for resizing, you can also do this programmatically as well. Of course, you can resize an image along either the horizontal, vertical, or both axis. In essence this allows us to scale an image to a factor/percentage that we want.
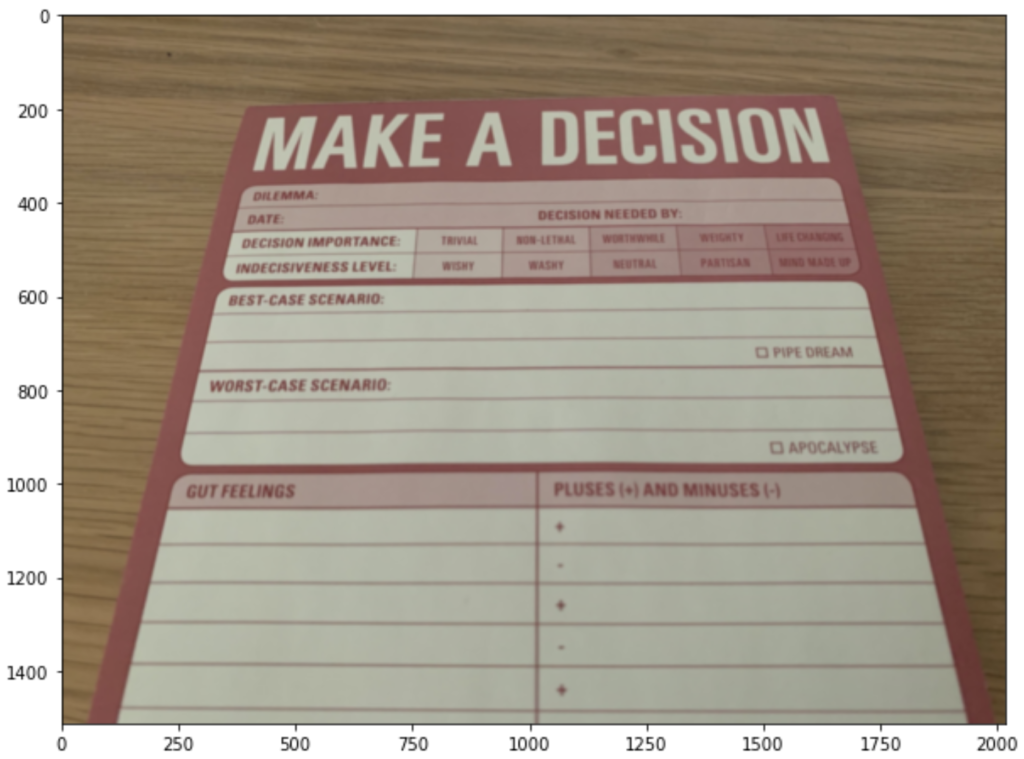
# Read in our image
image = cv2.imread("DecisionMaking.jpg")

# Single line of code to resize our image
image = cv2.resize(image, None, fx=0.5, fy=0.5)

# Display results with our helper function
showimage(image)
Translational shift
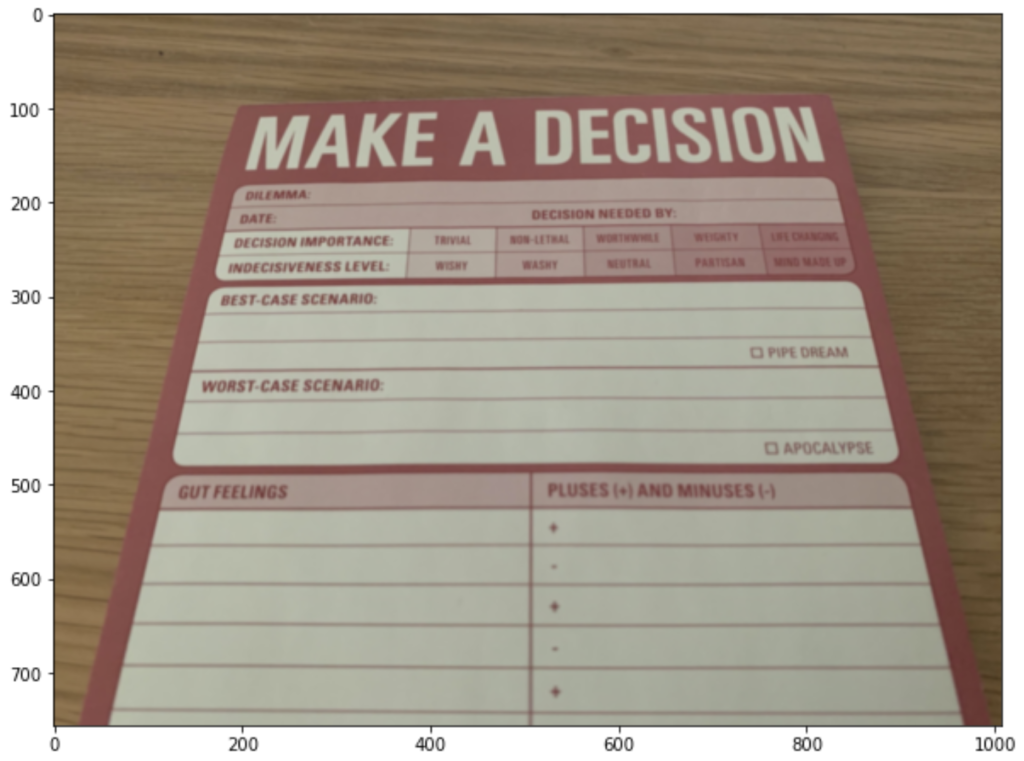
Translational shift refers to the shifting of the entire image in reference to its’ canvas. In order to perform this, we leverage OpenCV’s warpaffine() function. The WarpAffine function takes in a matrix and applies the transformation on a per pixel basis to our image. For the purpose of our article, we will not cover the mathematics behind. Nevertheless, the concept of creating a matrix and applying it to our image will become a recurring theme. Most important is to see how we can easily apply and adapt these functions to our need.
# Read in our original image
image = cv2.imread("DecisionMaking.jpg")

# Define parameters for the translation
shift_horizontal = 200  # Number of pixels to shift horizontally
shift_vertical = 100  # Number of pixels to shift vertically

# We define a 2D matrix in float32 to describe the translation
matrix = np.float32([[1,0,shift_horizontal],
          [0,1,shift_vertical]])

y = image.shape[0]  # Height of our image
x = image.shape[1]  # Width of our image
output_size = (x,y)  # Defines the output size of our image

image = cv2.warpAffine(image,matrix,output_size)

# Display output

Mirror image
Another common geometric transformation is to mirror our image either over the horizontal or vertical axis. As an illustration, we show how to do both with only 1-2 lines of code.
# Read in our original image
image = cv2.imread("DecisionMaking.jpg")

# Flip image along x-axis
image1 = cv2.flip(image,0)

showimage(image1)
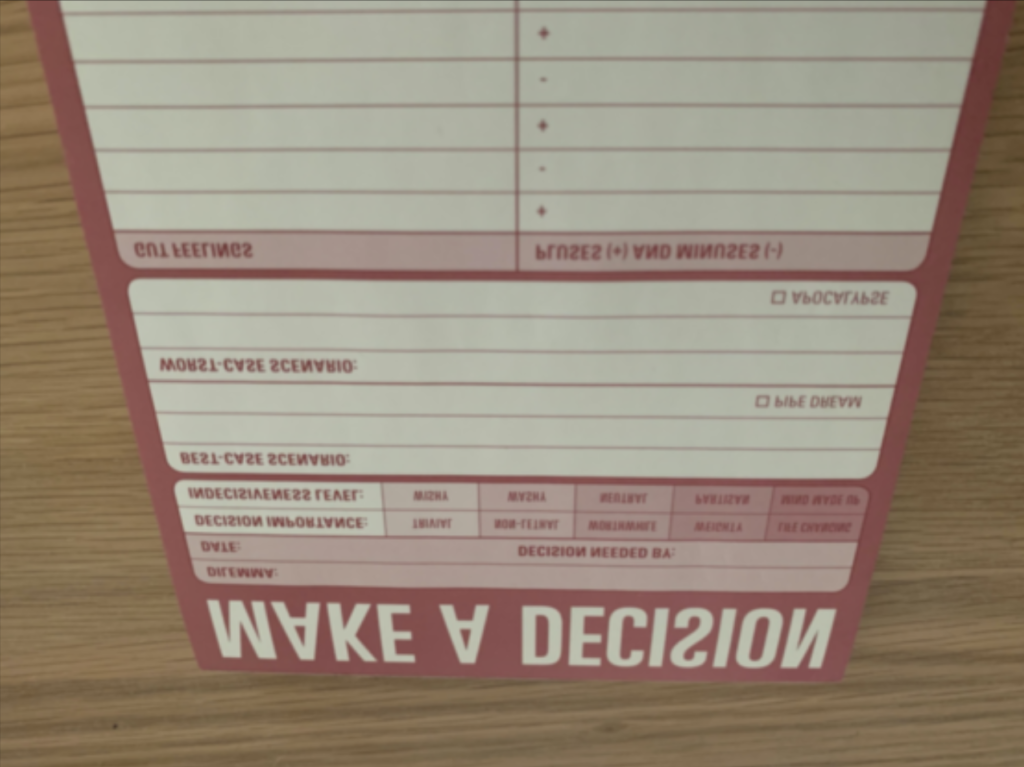
image2 = cv2.flip(image,1)  # Flip image along y-axis
showimage(image2)

Geometric Transformation with OpenCV – Rotating an image
Lastly today we will cover how to rotate an image. As images are represented as a Numpy Array, you could make use of simple matrix transformations provided within Numpy to make 90 rotations by simple transposing. Meanwhile, performing rotations to a specific angles or even rotating based on a specific location of the image become more complex. This is where we can make use of OpenCV for rotating images to our desired angle.
# Read in our original image
image = cv2.imread("DecisionMaking.jpg")

y = image.shape[0]  # Height of our image
x = image.shape[1]  # Width of our image
output_size = (x,y)  # Defines the output size of our image

rotation_point = ((x-1)/2.0,(y-1)/2.0) # We take the image centre for illustration
rotation_angle = 30 # Degrees - Positive means counter clockwise

# First we define a transformation Matrix
matrix = cv2.getRotationMatrix2D(rotation_point, rotation_angle, 1)

# Perform rotation on our image
image = cv2.warpAffine(image,matrix,output_size)

# Display output
showimage(image)

Geometric Transformation with OpenCV – Summary
All in all, we have covered many common and useful geometric transformations with OpenCV. First we talked about how we can resize our image. Subsequently we further looked at how we can move the image within its’ canvas, including mirroring along an axis. Lastly we looked at a small code snippet that allows us to rotate our image. Who would have guessed high school

